
Themen
Meistgelesene Artikel
- Homemade New York Style Pastrami Sandwich
- Homemade New York Style Pastrami Sandwich
- Homemade New York Style Pastrami Sandwich
- Homemade New York Style Pastrami Sandwich
- Osterschmankerl & Bräuche: Alles rund um das Osterfest
- Dry-Aged Beef: Genusserlebnis durch gezielte Fleischreifung
- Ganslzeit: Martini Gansl richtig zubereiten | Rezept
Homemade New York Style Pastrami Sandwich
If you've ever been to America, there's one delicacy you've hardly missed: the beloved pastrami sandwich. For New Yorkers, it's a must, just like a classic Wiener schnitzel is for us.
Pastrami is the favourite topping for sandwiches, but it can be used to make many more dishes. All it takes? A prime brisket, some spices and patience.
Homemade pastrami is the supreme discipline when it comes to smocking, and it takes a bit of effort. We'll tell you the best tricks in our recipe so that your pastrami sandwich is an absolute hit and the whole process is really worth it.
New York Style Pastrami Sandwich - the ultimate recipe
The first step is to pickle the beef brisket. You can easily prepare the curing mixture yourself.
Step 1: Pastrami sandwich - brine beef brisket
You will need the following ingredients to cure a 2 kg brisket.
- 80 g pickling salt
- 100 g cane sugar
- 40 g black pepper, freshly ground
- 2 tbsp coriander seeds, ground
- 2 tbsp garlic powder
- 1 tsp ginger
The ingredients are first mixed and applied to the beef brisket. This is where the paring already pays off, because the pickling salt can penetrate the meat much better. Make sure that the mixture is thoroughly and evenly distributed on all sides of the beef brisket.
Now place the meat in a vacuum bag, vacuum seal it and place it in the fridge. If you don't have a vacuum cleaner at home, you can also use a sealable and airtight Tupperware.
Depending on the thickness of the meat, curing takes about 4 - 6 days. This is how long the brisket stays in the fridge. Turn the meat once a day so that the mixture is well distributed and evenly absorbed.
Note: You recognise the perfect time for curing when the meat feels nice and firm. Then the process is complete.
Making pastrami yourself - which meat is perfect?
Different cuts are suitable for preparing pastrami yourself, such as shoulder or classic boiled beef. Ideally, however, a beef brisket should be used. It is important to remove the thick layer of fat from a brisket beforehand. However, a small layer of fat can remain.
In our online shop you will find first-class and finely marbled briskets in different sizes that are already parried. You therefore only have to trim away a small amount of fat, if any at all.
Brisket from the Austrian calf (heifer) at Fitmeat
- Full Packer Brisket ca. 4,00 - 5,00 kg
- Full Packer Brisket ca. 3,00 - 4,00 kg
- Full Packer Brisket ca. 2,00 - 3,00 kg
Have you found the perfect piece for you? Then you're ready to go.

Step 2: Preparing pastrami - the soaking process
After curing, the meat is washed with water and the spice layer is removed. Then place the brisket in a sufficiently high container and soak for 30 minutes.
and soak it for 30 minutes. The process is repeated with fresh water for another 30 minutes. Soaking the meat reduces the very high salt content resulting from the curing process.

Step 3: Season the pastrami properly
Once the curing layer has been removed and the meat has been soaked, the next spice mixture is added. After all, a few herbs are needed for the ingenious New York Style Pastrami taste.
Ingredients for the pastrami rub
- 4 tbsp black pepper
- 1 tbsp red pepper
- 3 tbsp coriander seed
- 1 tbsp thyme
- 1 tsp garlic powder
- 1/2 tsp ginger
For the perfect rub, first roughly crush the pepper and coriander and put them in a pan with the cumin and coriander seeds. Then roast at medium temperature for about 5 minutes and leave to cool. Now add the rest of the spices. You can safely do without salt, as this has already been done by the salting process.
You can also grind the rub a little, but the mixture should not be too fine. Now the rub can be applied to all sides of the brisket and rubbed in.
Smoke pastrami or cook it sous-vide?
Step 4: Prepare pastrami
Whether you prefer to smoke your pastrami or cook it sous-vide is up to you. If you are using brisket, we recommend the smoking method.Preparing pastrami on the grill
The seasoned beef brisket is placed on the barbecue at 110 °C. The smoked pastrami is a real treat. Hickory wood, which is placed on the embers, ensures ingenious smoking aromas. The brisket should now be smoked for at least three hours until a core temperature of 68 °C is reached. It is best to use a core temperature gauge to check this. Once the desired degree of cooking has been reached, the pastrami can be removed from the grill.
Pastrami sous-vide cooking
An alternative variant to smoking would be sous vide cooking. This can be used for a beef brisket, boiled beef or shoulder. To do this, preheat the sous vide cooker to 68 °C and cook the vacuumed meat for 7 - 8 hours. The advantage of this method is that it guarantees success, as there are usually no unplanned temperature fluctuations. Disadvantage: The desired smoke aromas are missing and can only be contributed by using smoky spices.
Now self-discipline is called for: even if the smell of pastrami is already in your nose and tempts you to take a bite, you still need a little patience. The brisket has to cool down and rest properly first.
You can find more tricks for sous-vide cooking in our online article: Sous-vide cooking like a Pro.

Step 5: The cut
The cooled pastrami now goes into the fridge for a further resting period. For the unmistakable pastrami flavour and the wonderfully tender meat structure, it should rest for at least 2 days
But now it's really done!
After all the patience and work, you will be rewarded with the ultimate pleasure.
The pastrami can now be taken out of the fridge and cut into slices about 1.5 mm thin. For an even and precise cut, we use our Fitmeat Gyuto kitchen knife from knifemaker Martin Huber
We wish you a lot of fun while cooking and enjoy it!
Schritt 6: Sauce abschmecken
Rouladen herausnehmen:
- Sobald die Rouladen zart sind (sie sollten sich mit einer Gabel leicht einstechen lassen), nimm sie vorsichtig aus dem Bräter und halte sie warm.
Sauce verfeinern:
- Passiere die Sauce durch ein feines Sieb oder püriere sie mit einem Stabmixer, je nach gewünschter Konsistenz. So wird sie besonders samtig.
- Für eine dickere Sauce kannst du einen Teelöffel Speisestärke in kaltem Wasser auflösen und einrühren. Kurz aufkochen lassen, bis die Sauce eindickt.
Abschmecken:
- Verfeinere die Sauce mit Salz, Pfeffer und Paprikapulver nach Geschmack.
Schritt 7: Servieren
Anrichten:
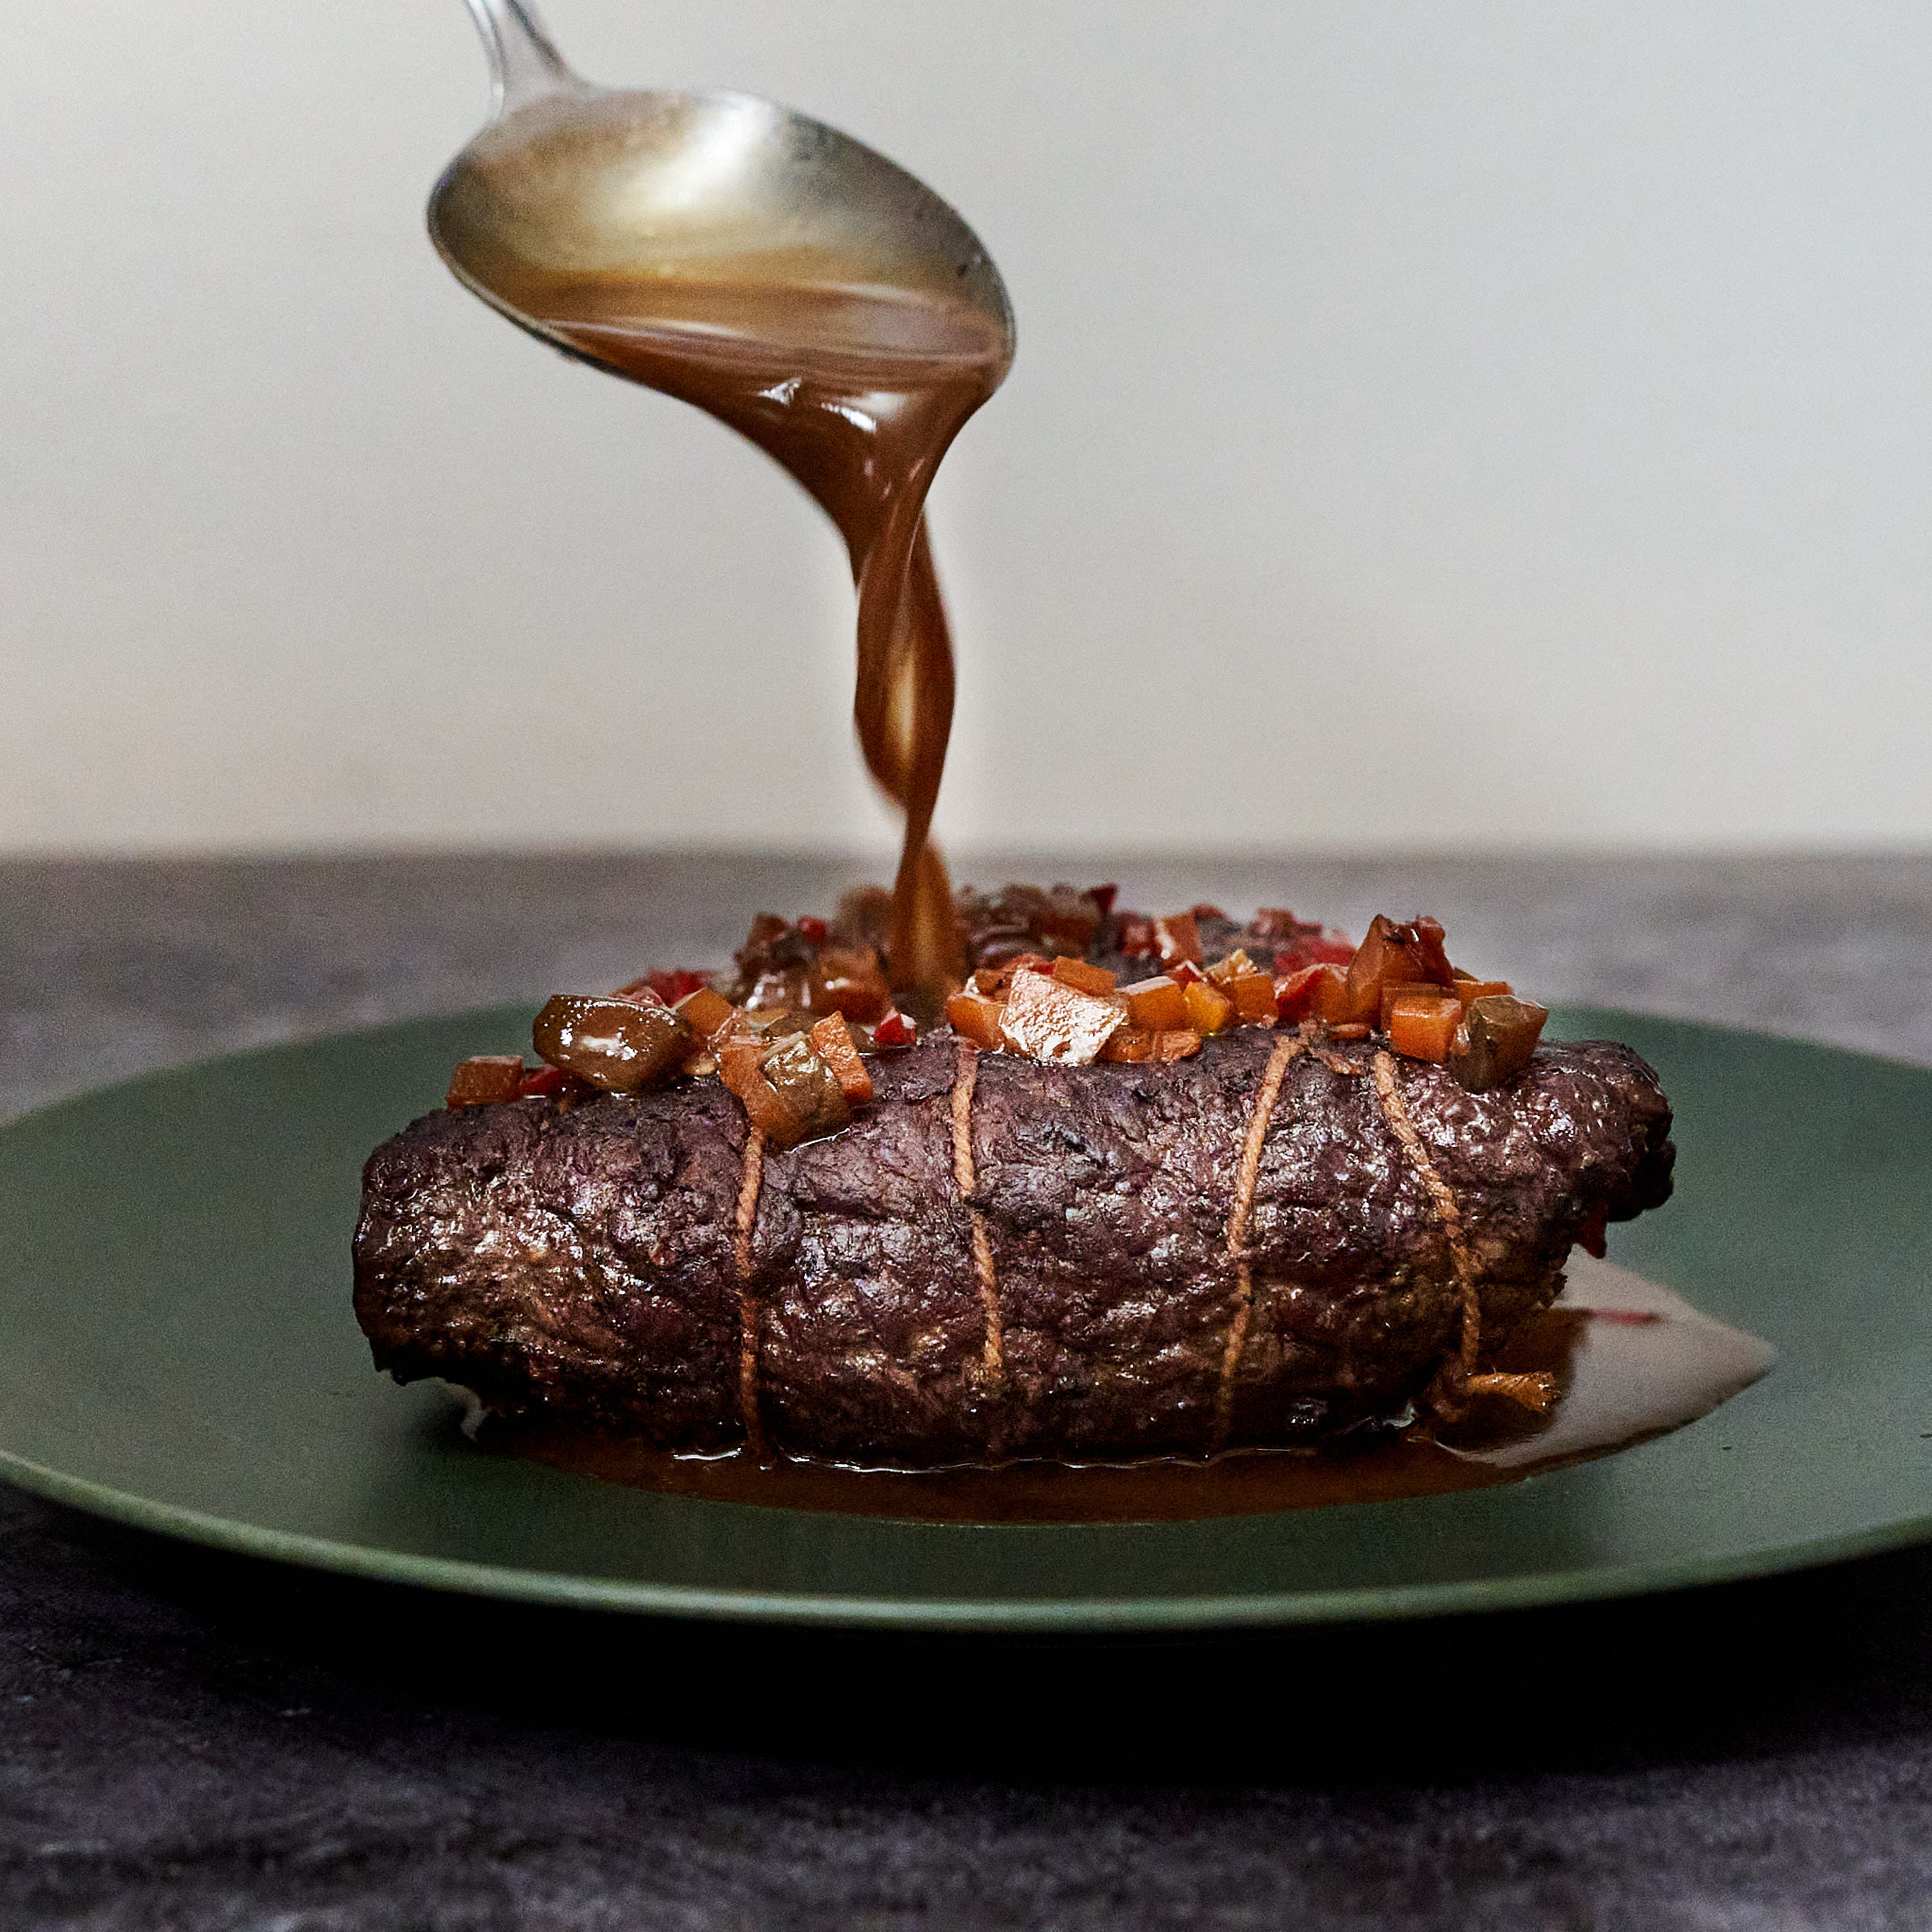
- Lege die Rouladen auf vorgewärmte Teller und übergieße sie mit der Sauce.
- Serviere dazu klassische Beilagen wie Kartoffelpüree, Semmelknödel oder Bandnudeln. Auch ein frischer grüner Salat passt hervorragend dazu.
Tipp:
- Dieses Gericht lässt sich wunderbar vorbereiten und schmeckt aufgewärmt oft noch intensiver, da die Aromen weiter durchziehen. Perfekt für einen Festtag oder ein gemütliches Sonntagsessen.
Guten Appetit!

